
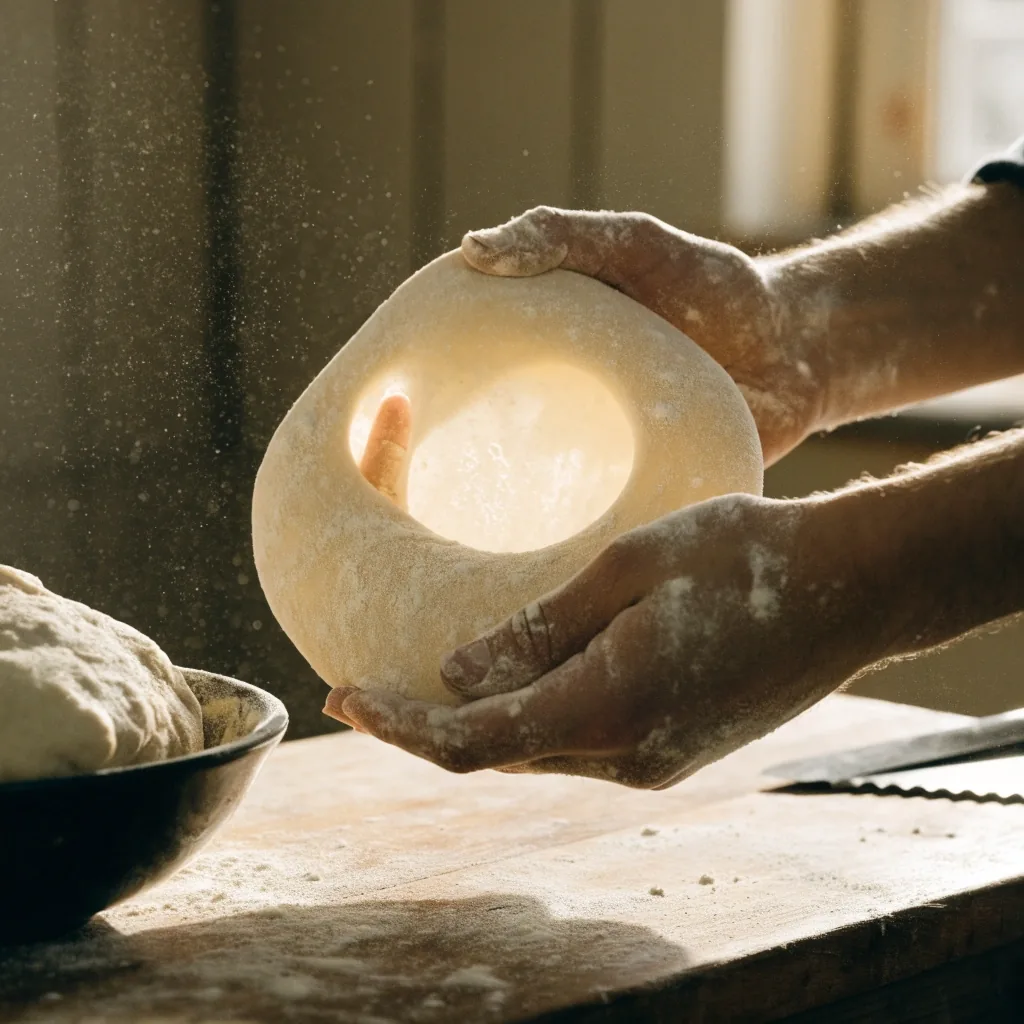
Technique, not luck
Dough and baking techniques that make pizza reliable
Recipes give you one result. Technique gives you control. This page covers the skills behind every recipe on the site: hydration, fermentation, gluten development, and oven setup. Read it once before your first bake, then come back when something goes wrong.
Start here
Baker's percentage, explained simply
Baker's percentage expresses every ingredient relative to the flour weight, which is always set at 100. The system lets you scale a recipe up or down without breaking it, and it makes adjustments predictable. If your dough feels too stiff, you raise hydration by a few points. If it's too slack to handle, you lower it. Once you think in percentages, you stop memorizing recipes.
Percentages are relative to flour, not to the total dough weight. A 65% hydration dough carries 65 grams of water for every 100 grams of flour.
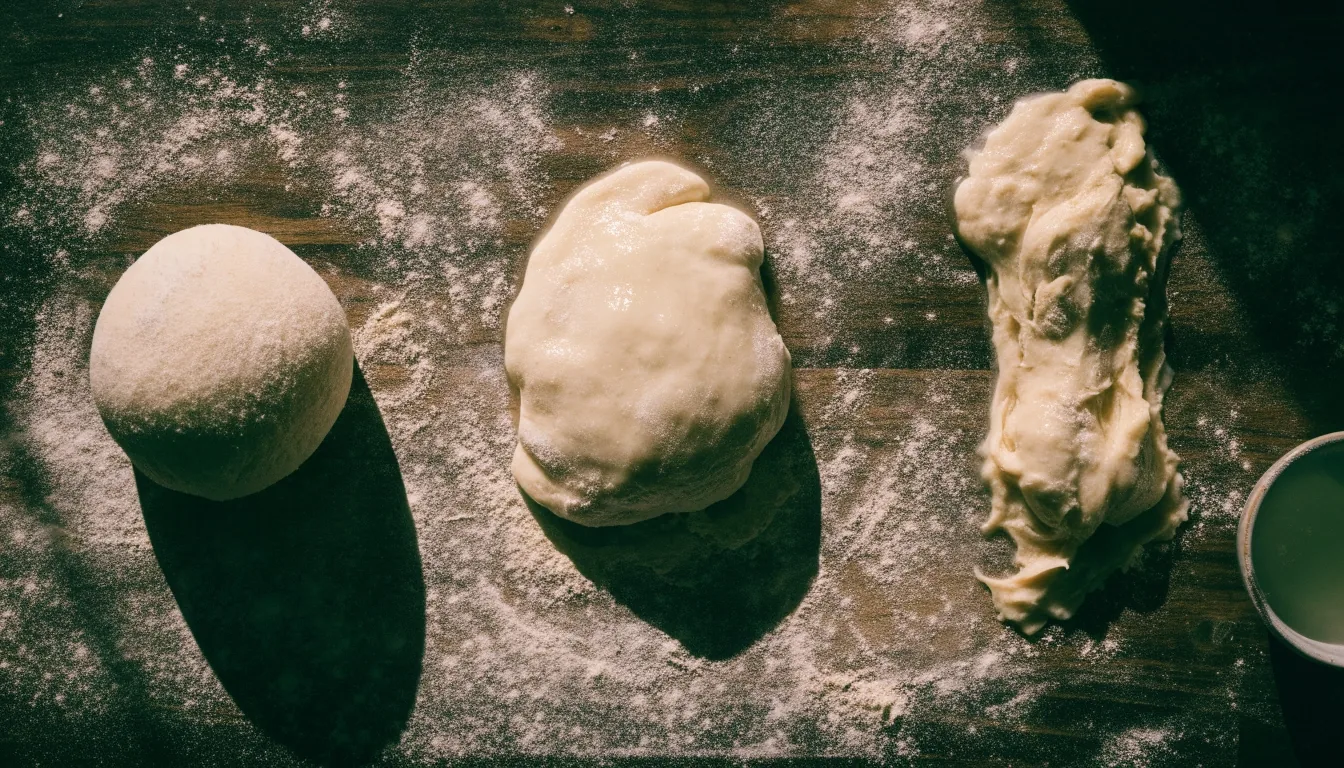
Dough hydration and what it changes
Hydration affects how a dough feels, how it stretches, and how the final crust bakes. Higher hydration gives a more open crumb and a lighter crust, but the dough is harder to handle. Lower hydration is easier to stretch and more forgiving.
New York-style sits in the middle. Neapolitan runs high. Pan pizza runs lower and stiffer. There is no single correct number, only the number that matches your style and your skill.
Neapolitan
High
Open crumb, airy rim, and a dough that demands confident, quick handling.
New York-style
Middle
Stretchable and forgiving, with a crust that folds without cracking.
Pan
Lower
Stiffer and easier to press into the pan, with a crisper base.
Cold ferment vs room-temperature proof
A cold ferment slows the dough down in the fridge and builds flavor over one to three days. A room-temperature proof is faster and works for same-day bakes, but the flavor is simpler. Cold ferment also makes the dough easier to stretch because the gluten relaxes.
Fridge
Cold ferment
One to three days in the fridge. Slower yeast activity builds deeper flavor and a relaxed gluten structure, so the dough opens under your hands instead of fighting back. Bring it to room temperature before shaping.
- Best when you can plan a day or two ahead
- Uses less yeast for the same rise
- Stretches more easily after resting
Counter
Room-temperature proof
A few hours on the counter and you bake the same day. The flavor is simpler and the schedule is tighter, but it works when the fridge is full or you decided to make pizza this afternoon.
- Same-day bake without a long fridge rest
- Adjust the yeast amount to match your timing
- Keep it out of a cold draft while it rises
If your schedule allows it, the fridge is almost always the better choice. If not, a room-temperature proof still works — just adjust your yeast amount so the dough is ready when you are.
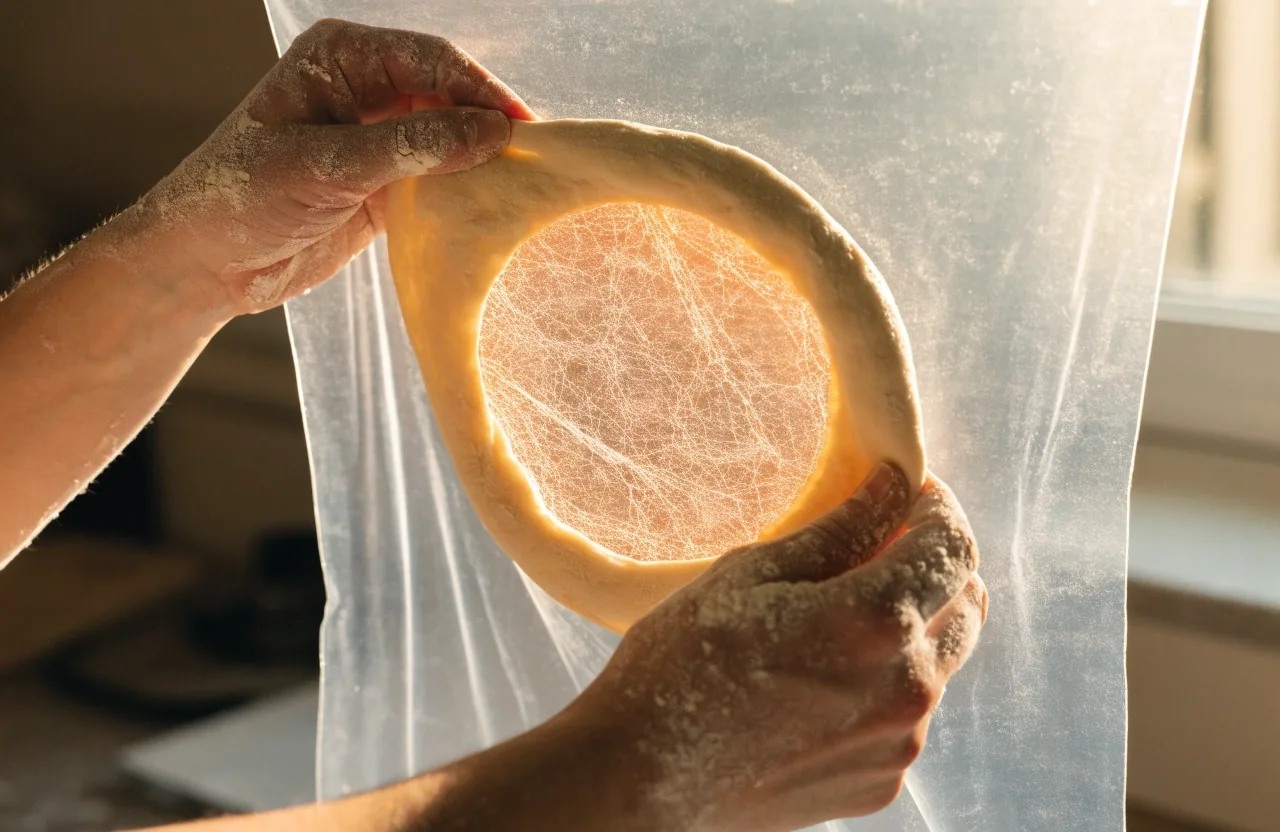
Gluten development and the windowpane test
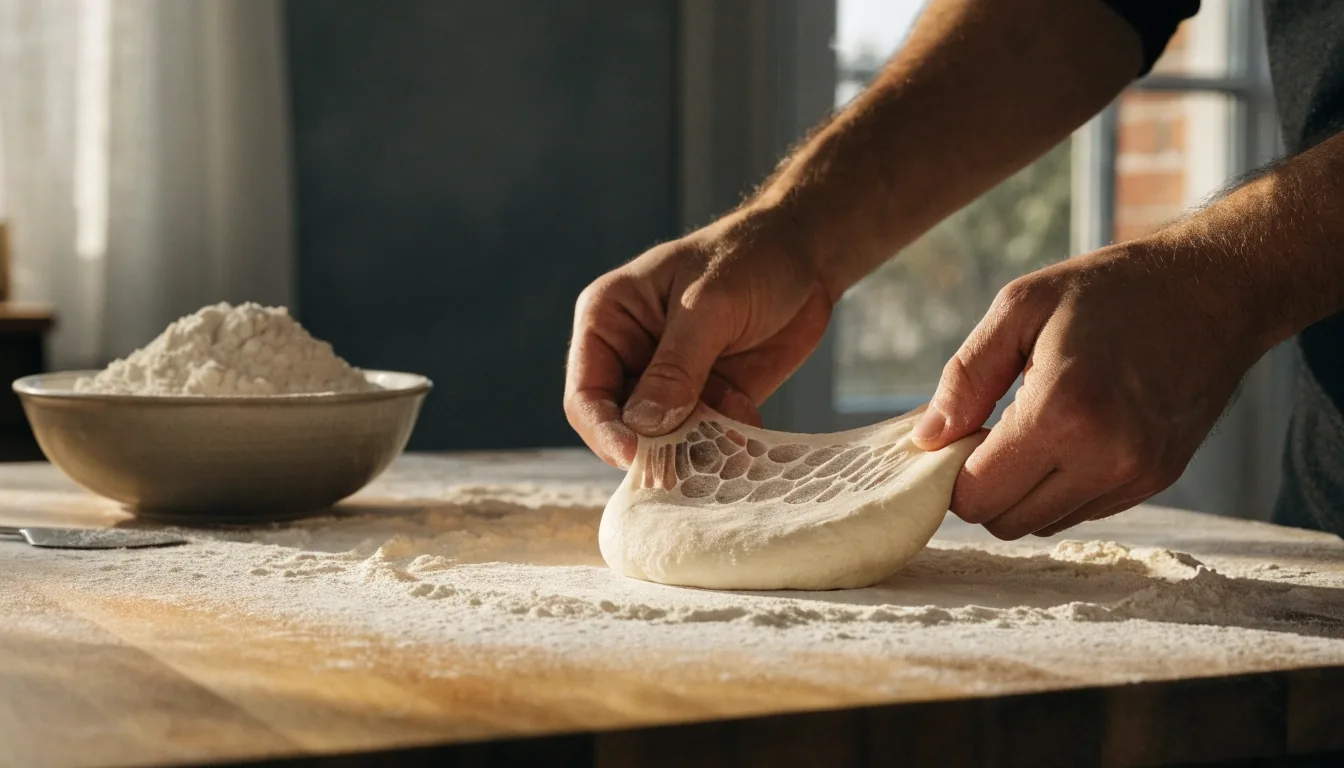
Gluten is what lets a dough stretch without tearing. You develop it by mixing and by stretch and fold. The windowpane test is how you check: stretch a small piece thin enough to see light through it without it breaking. If it tears, keep working the dough. If it holds, you're ready.
This matters more than any timer, because flour and humidity change how long development takes. Learn the test and you stop guessing.
- 1 Mix until the dough comes together and no dry flour remains.
- 2 Rest ten to twenty minutes so the flour hydrates and the dough relaxes.
- 3 Stretch and fold, rotating the bowl, until the dough resists and feels smooth.
- 4 Run the windowpane test. Tear means keep going; a clean window means you're done.
Oven setup and baking steel
Your oven setup decides how your crust browns on the bottom. A baking steel is more conductive than a stone, so it transfers heat faster and produces better bottom color.
Preheat it long, usually 45 minutes to an hour, and place it on a rack that gives you good access. For Neapolitan-level heat you need a dedicated oven. For everything else, a steel in a hot home oven is the practical answer.
What your setup decides
Bottom color
A conductive steel pulls heat into the base of the pizza and gives it a faster, more even brown.
Preheat time
Forty-five minutes to an hour, so the steel is fully saturated with heat before the pizza goes on.
Rack position
Pick a rack that lets you slide a peel in and out with a little clearance above for the broiler.
Heat ceiling
Home ovens reach a working range that suits New York-style and pan pizza. Neapolitan-level heat needs a dedicated oven.
Where you bake matters as much as what you bake on. Match your heat to the style instead of chasing a single number.
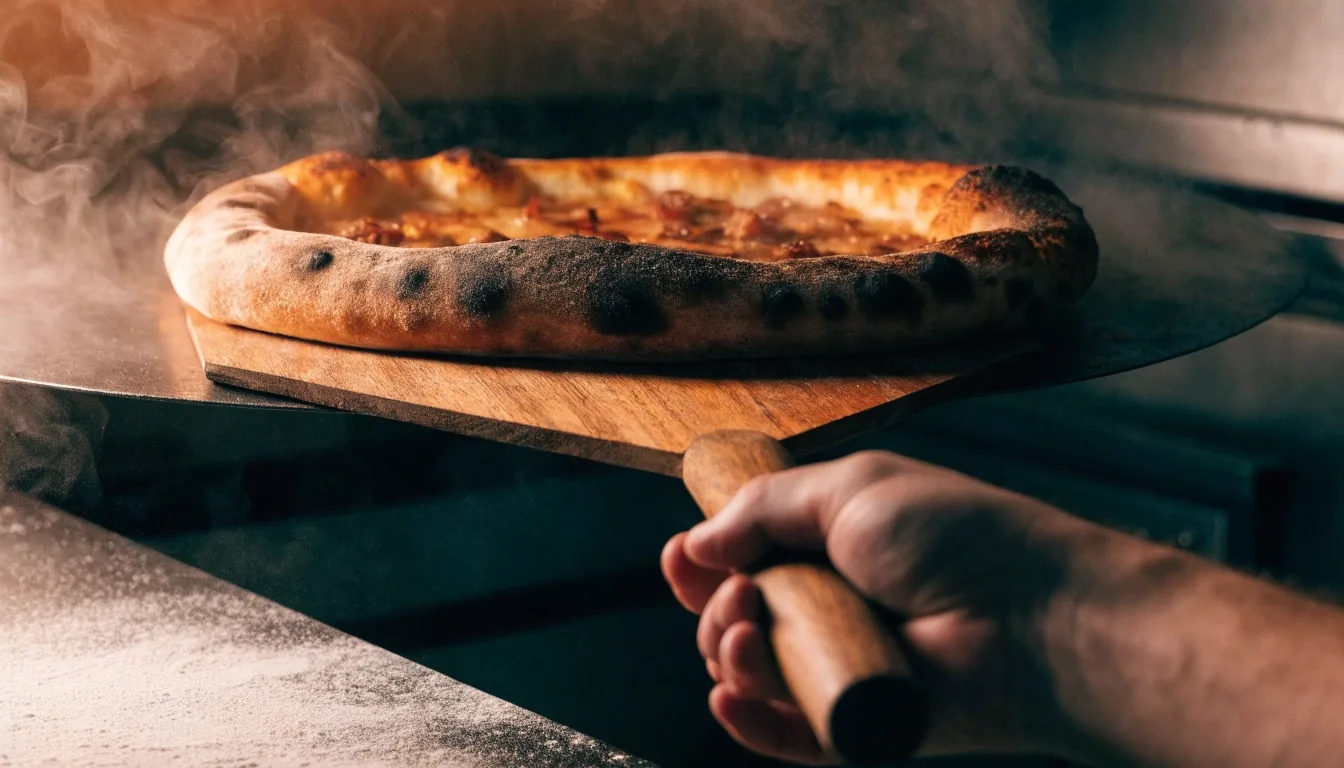
Oven spring and blistered crust
Oven spring is the rapid rise in the first minutes of baking. It depends on heat, dough strength, and how fast you load the pizza. A blistered crust comes from high surface heat and a well-fermented dough.
Pale crust
Your oven or your steel isn't hot enough, or the preheat was too short. Give the steel more time at temperature.
Uneven puff
Your dough may be under-developed or over-proofed. Check the windowpane test and shorten the proof next time.
Reading the bake tells you what to fix next time. A crust that puffs evenly and browns under the rim is a dough and a heat setup agreeing with each other.
Toppings and the soggy center problem
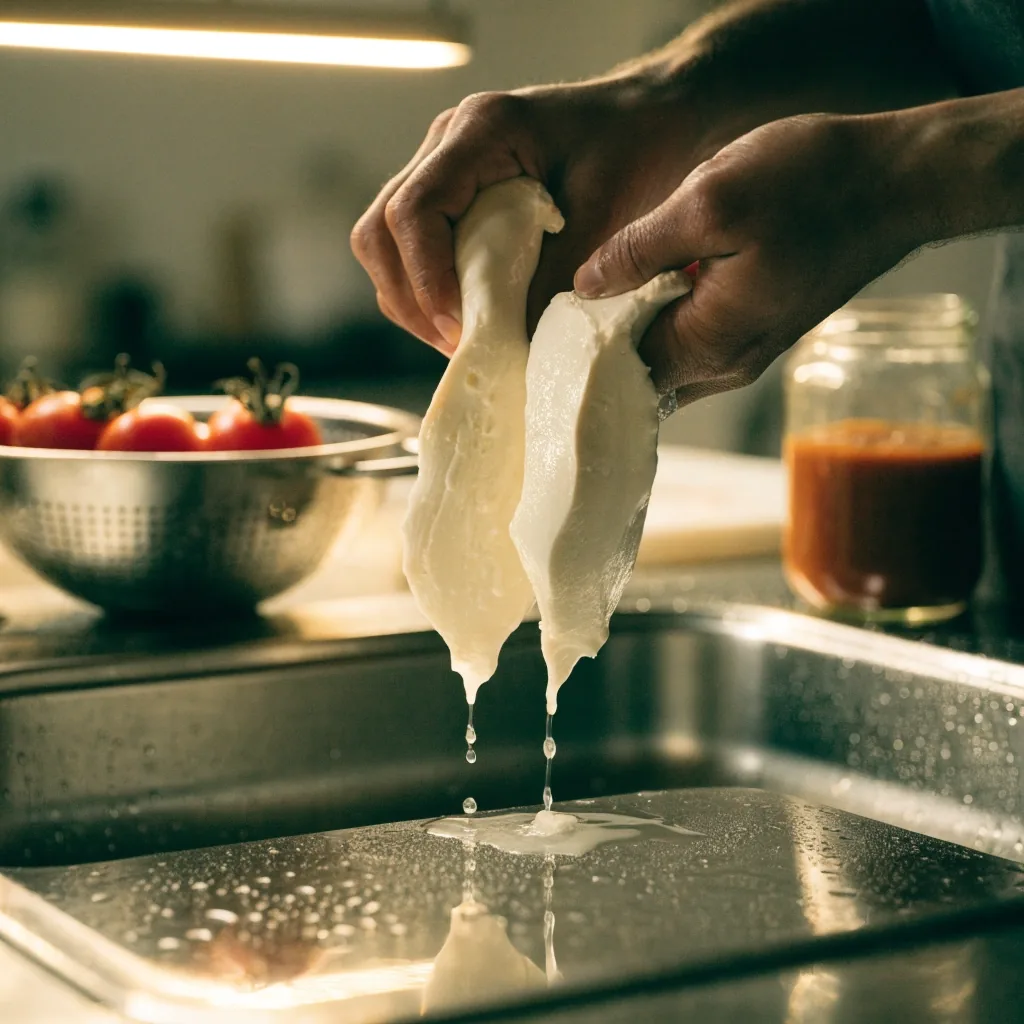
A soggy center is almost always a moisture problem. Use less sauce than feels right, drain wet toppings like fresh mozzarella, and don't overload the middle of the pizza.
A fully preheated baking surface and a short, hot bake also help the crust set before moisture soaks in. If you're adding heavy vegetables, cook them first. The crust can only absorb so much water before it gives up.
- Drain fresh mozzarella and blot it dry before it goes on the pizza.
- Sauce lightly and leave a wider bare rim so the crust can set.
- Cook wet vegetables first, then add them after the sauce.
- Keep the center of the pizza lighter than the edges — the middle is where moisture pools.
Questions that come up before a bake
Short answers to the checks people ask about most often. If your question isn't here, ask us directly and we'll point you at the technique that fits.
Ask a technique questionWhat is the windowpane test?
Stretch a small piece of dough thin enough to see light through it. If it holds without tearing, gluten is developed enough.
How long should I preheat a baking steel?
Forty-five minutes to an hour at your target temperature, so the steel is fully saturated with heat before the pizza goes on.
Does higher hydration always make better pizza?
No. Higher hydration gives a lighter crust but is harder to handle. Match it to your style and your skill level.
Where should I start if my first bake went wrong?
Work backwards from the result. A pale crust points at heat and preheat time; a tough dough points at gluten development; a soggy center points at moisture. Fix one variable per bake and you'll learn the dough much faster than changing everything at once.
Now take the technique into the kitchen
Pick a recipe, run the windowpane test, and preheat the steel long enough. If you'd rather learn with someone guiding you, our masterclasses walk through the dough and the bake together.
ACF Pizza Craft · 482 Mulberry Street, New York, NY 10013 · +1-212-555-0194